
Select and Maintain the Right Ceramic Diamond Saw Blade to Reduce Edge Chipping
Matching bond hardness, grit size, and rim design to tile brittleness: Porcelain vs. sintered stone
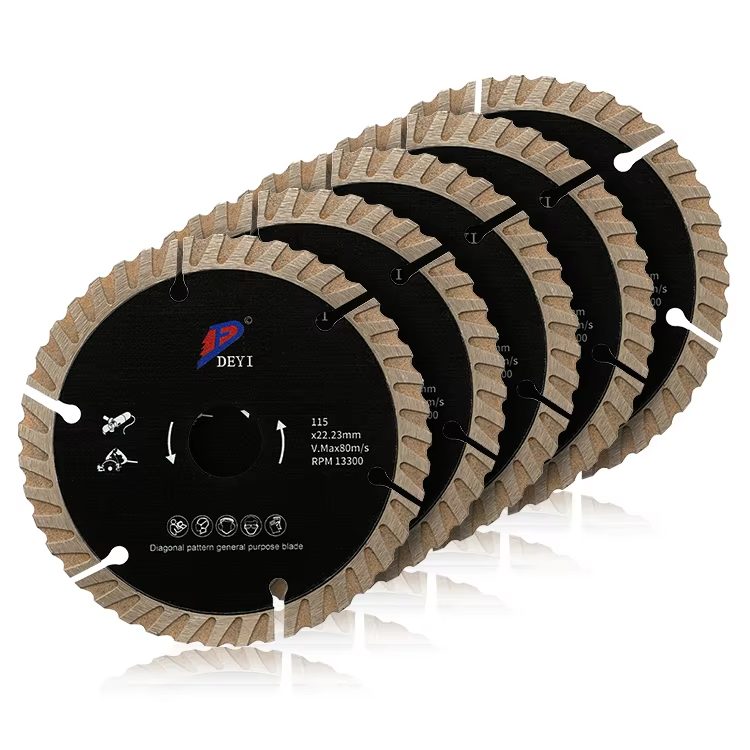
Picking the right ceramic diamond saw blade for specific tile materials makes all the difference when it comes to avoiding those annoying edge chips. When working with super brittle porcelain tiles, go for blades that have softer bonds, usually made from bronze, along with fine grit sizes around 60 to 80 mesh. These help wear down the material slowly instead of creating cracks from sudden stress. On the flip side, tougher sintered stone needs blades with harder bonding agents like cobalt or nickel plus medium grit at about 40 to 50 mesh. This setup keeps the cutting going strong and stops the blade from wearing out too fast. Continuous rim blades without those segmented gaps spread pressure evenly during cuts, which helps keep delicate tiles intact and reduces tiny fractures. Stay away from segmented rims completely when dealing with brittle stuff though. Those gaps create little hammer effects as they cut, and tests show this can actually boost exit chipping risks by nearly 70% in thin porcelain according to some recent abrasive industry research.
Blade sharpness, dressing frequency, and alignment—direct impacts on cut stability and edge integrity
The state of cutting blades has a major impact on how stable cuts are and the quality of edges produced. When blades become dull, they create more sideways friction and generate excess heat, which tends to weaken tile edges and causes those annoying flakes we all try to avoid. A good practice is to dress blades approximately every 15 to 20 hours of actual cutting time using a silicon carbide stone. This helps expose fresh diamond grit and brings back that sharp cutting action. If blade alignment drifts beyond about half a millimeter, it throws off the whole balance of tension across the blade and messes with its path through material, leading to unstable cuts and worse exit chipping problems. Check blade squareness at least once per month with a proper precision square tool. In situations where tight tolerances matter most, professionals typically swap out blades around the 50 hour mark. Diamond matrix materials do wear down over time, and studies show this can actually reduce cutting accuracy by as much as 40% when working with ceramics, which obviously affects the final edge quality.
Apply Support and Preparation Techniques to Reduce Edge Chipping
Full-tile support, clamping, and backing materials to eliminate flex-induced fracture at the cut edge
When brittle tiles break during cutting, it's usually because parts of them bend under the blade pressure where they're not properly supported. Start by setting up on a solid, flat worktable that makes complete contact with the tile surface. Add those non-slip pads underneath to keep everything from sliding around. Get those spring-loaded toggle clamps positioned about two inches away from where you plan to cut. These actually cut down on vibrations by roughly 70% compared to just holding the tile by hand. Place some 1/4 inch closed cell foam between the tile and table surface as well. This helps soak up those annoying resonances that cause tiny cracks to form. For bigger tiles like the 24x48 inch ones and above, always back them up with matching size plywood sheets. Putting all these together creates what works best for most tile jobs: good base contact, strategic clamping points, plus extra reinforcement behind the tile. This combination keeps the whole area compressed during cutting and stops those frustrating chips caused by flexing.
Painter’s tape, glazed-side-up orientation, and controlled back-cutting as proven low-cost methods to reduce edge chipping
Three accessible, field-validated techniques deliver measurable reductions in edge damage:
- Apply painter’s tape along both sides of the cut line to bind the ceramic matrix and reduce surface spalling by up to 40%
- Position tiles glazed-side-up on wet saws—the water-cooled entry point yields cleaner initial contact, while directing exit fractures toward the more forgiving unglazed side
- Use controlled back-cutting: first make a shallow 1/8" scoring pass from the front, then complete the cut from the backside to prevent blowout
These methods align with ceramic material behavior: tape adds tensile reinforcement where the glaze is most vulnerable, while directional cutting leverages the tile’s inherent asymmetry—higher compressive strength on the glazed surface and greater fracture tolerance on the body side.
FAQ
Why is blade bond hardness and grit size important for cutting tiles?
Blade bond hardness and grit size are crucial because they dictate how the blade interacts with the tile material. Softer bonds and finer grits are better for brittle tiles as they reduce stress and minimize cracking. Conversely, harder bonds and medium grits are suited for tougher tiles to ensure durability and efficient cutting.
How often should ceramic diamond saw blades be dressed?
It is recommended to dress ceramic diamond saw blades every 15 to 20 hours of cutting to expose fresh diamond grit and maintain sharpness. This practice reduces friction and heat, thereby minimizing edge chipping.
What techniques can help to support tiles and reduce chipping?
Supporting tiles can be achieved by using a solid worktable, non-slip pads, toggle clamps, closed-cell foam, and backing materials like plywood sheets. These help reduce vibrations and keep the tile stable during cutting, preventing flex-induced fractures.
Can using painter’s tape really reduce edge chipping?
Yes, applying painter’s tape along the cut line can reinforce the ceramic matrix and reduce edge chipping and surface spalling by up to 40% due to the tensile support it provides during cutting.