
The Science Behind Stone Restoration Grit Sequence Progression
Why Abrasive Staging Matters: Particle Size, Scratch Depth, and Surface Integrity
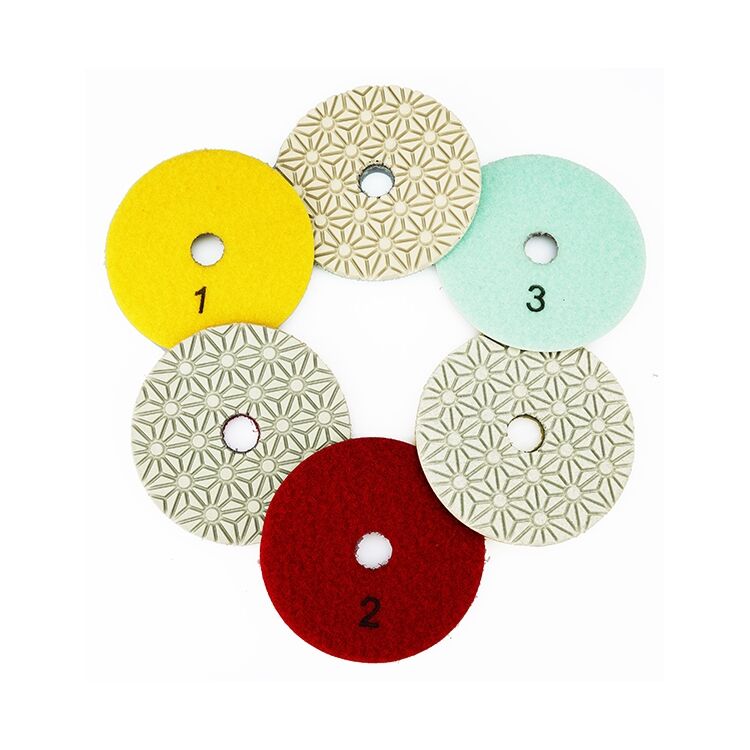
Following a proper grit sequence during stone restoration isn't just recommended it's essential if we want really good results. The process works step by step, where each abrasive removes scratches from the coarser grit before moving on to finer ones. Think about diamond particles in those polishing pads they actually make tiny scratches themselves. Coarse 50-grit pads can leave behind around 150 micron grooves, whereas something as fine as 3000 grit will only create sub 5 micron patterns. When someone skips grits entirely, those bigger imperfections get trapped under the shiny top layer, leading to problems like hazy spots or uneven shine across the surface. Going through all these steps properly helps protect the stone itself because the pressure gets spread out more evenly, which prevents those hidden cracks that often happen when people rush the job. Plus, taking time with each stage manages heat better too. We've seen cases where jumping between grits creates about 40% more heat buildup, and this matters a lot for stones containing calcite such as marble since excessive heat can discolor the resin used in restoration work.
How Resin-Bond Diamond Pads Differ from Metal Bond in Grit Transition Behavior
The way we switch between grit sizes differs significantly between resin-bond and metal-bond diamond pads because of how each wears down over time. When working with resin bonds, they tend to break apart gradually as they're used, which brings new diamonds into play. This keeps the cutting action pretty steady but means these pads wear out about 30% quicker than others. For that reason, most professionals stick to smaller increments when changing grits, something like going from 100 to 200 then up to 400. Metal bonded pads tell a different story though. These ones wear away much more slowly since the diamonds themselves get worn down first. That makes them great for tough materials like granite, but also means bigger jumps between grits work better, maybe jumping straight from 100 to 400 and then 800 to save time. Another important difference is that resin pads can bend and adapt to surface irregularities during the final polish stage. Metal pads don't have this flexibility, so using them past the initial leveling phase often leads to an uneven finish. Getting the right pad type matched to what's being worked on and what kind of finish is needed helps avoid all sorts of problems later on and keeps the whole grinding process moving smoothly from one grit to the next.
Stone Restoration Grit Sequence by Material Hardness
Granite, Marble, Limestone, and Concrete: Starting Grits and Critical Transitions
The hardness of the material determines what grit sequence works best for stone restoration, and getting this wrong is probably why so many refinishing jobs end up looking terrible. For granite stones rated around Mohs 6 to 7 on the hardness scale, starting with coarse 50 to 100 grit resin bonded pads makes sense because these can flatten out the dense crystal structure. The jump from 400 to 800 grit is really important though, since it gets rid of those annoying haze spots before moving up to anything over 1500 grit. Marbles that are softer (about Mohs 3 to 4) need to start at 120 grit otherwise they'll gouge those pretty calcite veins. When working with these, going from 220 to 400 grit helps clean up scratches while keeping the stone intact. Limestone acts similar to marble but needs extra time spent at 400 grit due to its porous nature and inconsistent density throughout. Concrete surfaces are tough customers though, requiring initial work with 30 to 50 grit metal bond pads followed by some serious effort between 100 and 200 grit to deal with all those aggregate bits. If any scratches aren't completely removed during each step, the result will be those ugly banding effects across the surface. About seven out of ten failed refinishing attempts actually come down to missed scratches at some point in the process. Just remember, no skipping steps until everything from the previous one is totally gone first.
Wet vs. Dry Polishing: Impact on Grit Sequence Efficiency and Thermal Management
Water based polishing works great for keeping diamond pads cool, washing away all that junk, and cutting down on silica dust which is why most people stick with it during those rough early stages from about 50 to 800 grit. When taking off material aggressively, things get really hot, so water helps prevent damage. For stones made mostly of calcite like marble, wet methods are actually better because they stop thermal stress and that annoying resin glazing effect, making it easier to switch between different grit levels without issues. On the flip side, dry polishing has its advantages too. It's faster to set up and move around job sites, though workers need proper HEPA filters to handle all the dangerous particles floating through the air. Dry systems do produce shinier finishes at finer grits around 1500 to 3000 because the binders work better under these conditions. But watch out! Without some kind of cooling system, temperatures over 80 degrees Celsius will start causing problems like pad glazing and tiny cracks forming in the stone surface.
| Polishing Factor | Wet Method Advantages | Dry Method Advantages |
|---|---|---|
| Coarse Grit Efficiency | 40% faster debris removal | 25% faster setup time |
| Thermal Management | Limits temps to 40–60°C | Requires heat-resistant pads |
| Grit Transition | Prevents scratch carryover | Demands strict RPM control |
Choosing between wet and dry methods makes all the difference when it comes to grit sequences. Wet processing definitely speeds things up during the initial leveling phase, but then there's the whole hassle of dealing with water management afterwards. On the flip side, dry polishing works wonders for those final touches, though skipping those middle grit stages can lead to serious heat damage problems. Granite stones that don't soak up much water handle dry polishing just fine, while limestone tends to get messed up by moisture. Speaking from experience, cutting corners on those intermediate grit steps is asking for trouble down the road. Those stubborn scratches become permanent fixtures once they set in, so better safe than sorry approach always pays off in the long run.
When to Deviate from Standard Stone Restoration Grit Sequence – Valid Exceptions Only
Situational Skipping: Light Honing Repairs vs. Full Refurbishment Scenarios
Following the proper grit sequence for stone restoration generally gives the best results for complete makeovers, though there are some real world exceptions when dealing with small surface issues. For those light touch-up jobs where only a few scratches need fixing, it's sometimes okay to skip an intermediate grit step, especially when working with resin bonded diamond pads on materials like granite or quartz surfaces. The trick here is that these harder stones can handle the jump between grits better, and the controlled way diamonds cut through them helps save time while still keeping the surface looking good. But be careful about cutting corners during major restoration work. Skipping grit steps tends to leave behind a hazy finish, uneven spots across the surface, and those annoying recurring scratches that nobody wants to see. In many cases, this means having to start all over again from scratch, which nobody really wants.
Field validation from certified restoration specialists confirms that coarse-to-fine sequences should only be condensed when:
- Repairing less than 5% surface area
- Working exclusively above 400-grit thresholds
- Verifying gloss uniformity via side-by-side control area comparisons
Marble and limestone have lower fracture toughness compared to other stones, so when working with these materials, the grit transition process needs to follow full progression steps even during small repairs. Partial approaches can actually create bigger problems down below the surface, leading to cracks that cant be fixed later on. This finding was highlighted in a recent study published by Material Science Quarterly last year. When it comes to fixing natural stone surfaces, abrasive staging variations should only be used in specific situations. They work best as occasional fixes rather than replacements for the standard diamond pad method that professionals rely on for most repairs.
FAQ
What is grit sequence in stone restoration?
Grit sequence in stone restoration refers to the order in which different abrasive grits are used during the polishing process to progressively smooth the stone surface.
Why is it important to follow the correct grit sequence?
Following the correct grit sequence ensures that each successive step properly removes the scratches left by the previous grit, resulting in a smooth finish without hidden imperfections.
When can you skip a step in the grit sequence?
Steps in the grit sequence can sometimes be skipped during minor touch-ups, particularly on hard surfaces, but skipping during major restorations can lead to a poor finish.
What are the differences between wet and dry polishing?
Wet polishing keeps pads cool and reduces dust but requires water management. Dry polishing is faster to set up but increases dust and potential heat damage risks.
What are resin-bonded diamond pads?
Resin-bonded diamond pads break apart gradually to expose new diamonds, providing steady cutting action and flexibility to adapt to surface irregularities.